Asana integration (via Zapier)
By connecting FaceUp with Asana, you can automate the process of handling reports collected via your reporting forms. This prevents reports from being missed and allows you to create tasks within specific projects, update tasks, etc.
First, you need to connect your account with Zapier. Follow these few steps:
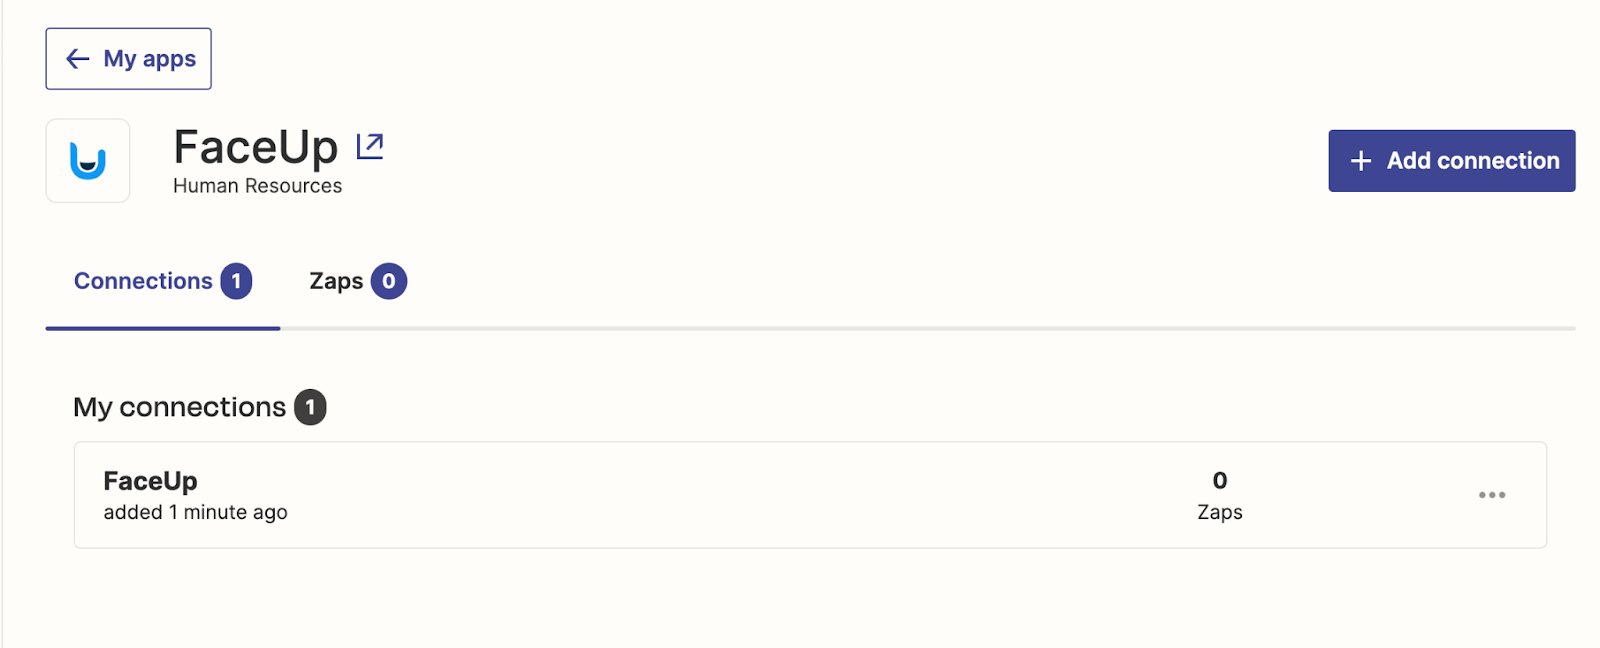
- Log in to your Zapier account, navigate to the Apps section and search for FaceUp.
- Then click Connect. Now you need to insert your API key and Region.Both of these can be found in your FaceUp account.
- You can get your Region by navigating into the Settings tab and copying the Data hosting region item.
- To get the API key, navigate to the Integrations tab, API keys section and create your key.
- Click Continue to FaceUp when you're done getting your credentials.
You have now successfully connected your account to Zapier.
Good job! The FaceUp connection you created is now ready to be connected to Asana. Follow these steps to do so:
- Create a new Zap in your Zapier account.
- In the Trigger section, choose FaceUp and choose from the three available events:
- New internal comment
- New report
- New message
- Once you've done that, click continue. You should then test your trigger to make sure it's working properly.
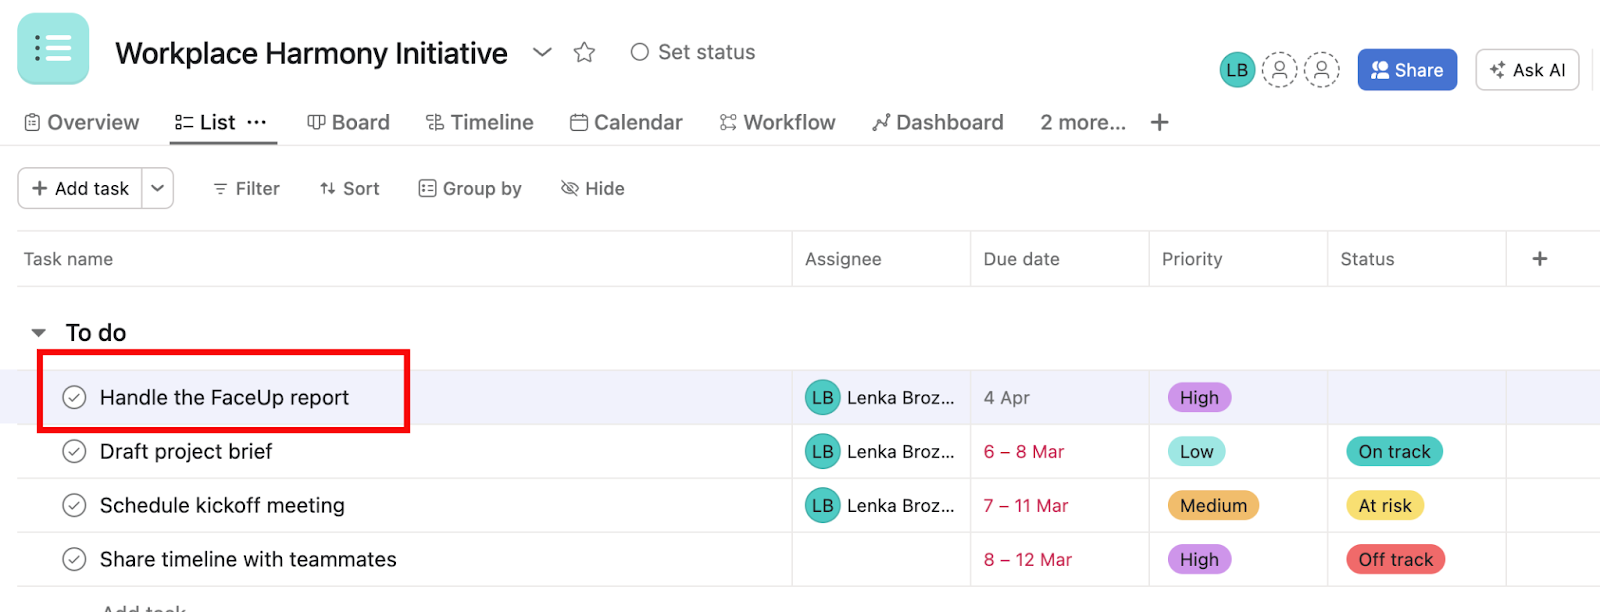
- Then, add Action. Search for Asana and choose from the available events. In this case, we will choose the Create a Task event.
- Click continue and connect your Asana account.
- Once you've done that you need to set up the Action details. That includes:
- Choosing the workspace, project and section.
- Defining the name of the task and the description.
- Choosing the default assignee, priority etc.
- When you're done click continue and test step.
- Once your zap is successfully tested hit Publish.
Good job! There will be a new task created automatically whenever a new report is received in your account.